


extension ViewController: UICollectionViewDataSource {
    func collectionView(_ collectionView: UICollectionView, numberOfItemsInSection section: Int) -> Int {
        return data.count
    }
    func collectionView(_ collectionView: UICollectionView, cellForItemAt indexPath: IndexPath) -> UICollectionViewCell {

        guard let cell = collectionView.dequeueReusableCell(withReuseIdentifier: "cell", for: indexPath) as? CollectionCell else {return UICollectionViewCell()}

        cell.title.text = data[indexPath.row]

        return cell
    }
}
CollectionView는 TableView와 비슷하게 item들을 나열하는 View입니다.
다른점은 가로, 세로 나열이 가능하고 tableView보다 자유롭게 item을 나열할 수 있다는 것입니다!
차근차근 알아보겠습니다.
StoryBoard

스토리보드에 collectionView를 올리면 볼 수 있는 화면입니다.
기본으로 cell이 하나 생성이 되어있고 cell에는 label이나 image를 넣어 cell을 꾸밀 수 있습니다.
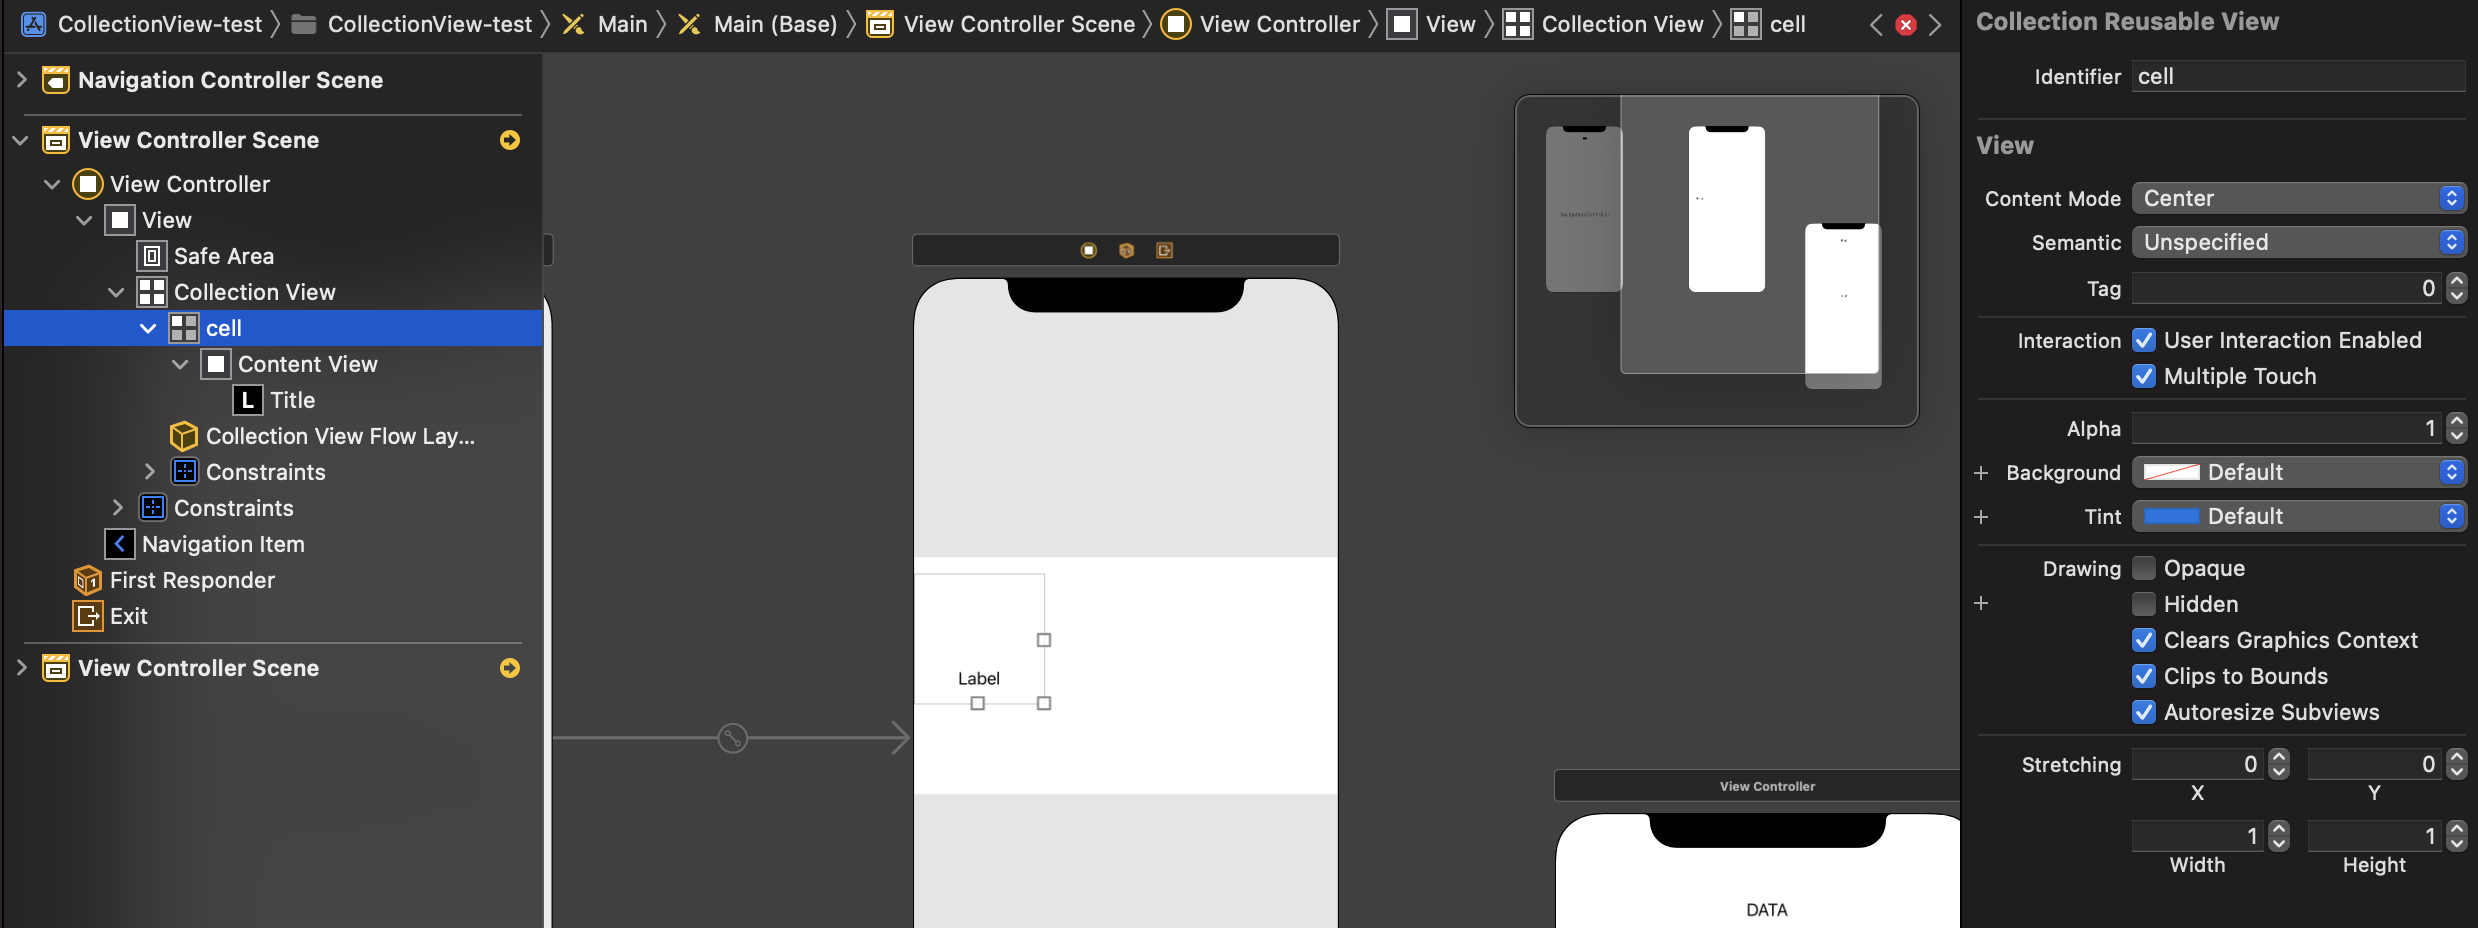
Cell에는 사진처럼 Label을 넣어서 만들기도 가능합니다.
inspector창에 식별자를 넣은 이유는 해당 셀이 맞는지 확인하는 용도로 사용됩니다. 나중에 셀을 관리할 때 사용합니다.
CustomCell을 만들기 위해 cell에 연결되어 있는 클래스를 변경해 주겠습니다.

Cocoa Touch Class로 UICollectionVIewCell을 상속받는 클래스를 생성하여 연결해 줍니다.
class CollectionCell: UICollectionViewCell {

    @IBOutlet weak var title: UILabel!

    required init?(coder: NSCoder) {
        super.init(coder: coder)

        self.contentView.layer.borderWidth = CGFloat(5.0)
        self.contentView.layer.borderColor = UIColor.green.cgColor
        self.contentView.layer.cornerRadius = 5.0
    }
}
Cell에 있는 UI를 Outlet변수로 설정해주고 cell을 조금 꾸며보았습니다.
외곽선의 굵기, 색상과 둥근 사각형으로 만드는 작업을 하였습니다.
그리고 CollectionView가 있는 화면에 ViewController에 Outlet변수를 만들어 주겠습니다.
class ViewController: UIViewController {
    @IBOutlet weak var collectionView: UICollectionView!
    var data = ["1", "2", "3", "4", "5"]

    override func viewDidLoad() {
        super.viewDidLoad()

        collectionView.delegate = self
        collectionView.dataSource = self
        //cell의 상하좌우 간격조정
		collectionView.contentInset = UIEdgeInsets(top: 10, left: 10, bottom: 10, right: 10)
    }
}
CollectionView를 Outlet변수로 지정해 주고 delegate와 dataSource에 대한 정의도 해 줄 차례입니다.
UICollectionViewDataSource -> Cell의 데이터를 정의
UICollectionViewDelegate -> CollectionView의 Cell의 상호작용을 정의
먼저 UICollectionVIewDataSource 정의부터 확인하겠습니다.
extension ViewController: UICollectionViewDataSource {
    func collectionView(_ collectionView: UICollectionView, numberOfItemsInSection section: Int) -> Int {
        return data.count
    }
    func collectionView(_ collectionView: UICollectionView, cellForItemAt indexPath: IndexPath) -> UICollectionViewCell {

        guard let cell = collectionView.dequeueReusableCell(withReuseIdentifier: "cell", for: indexPath) as? CollectionCell else {return UICollectionViewCell()}

        cell.title.text = data[indexPath.row]

        return cell
    }
}
꼭 정의해야 하는 함수는 numberOfItemsInSection, cellForItemAt입니다.
numberOfItemsInSection은 사용할 cell의 갯수를 설정하는 것으로 cell로 생성할 데이터의 갯수를 반환해주면 됩니다.
cellForItemAt은 지정된 위치에 셀을 요청합니다. indexPath값을 사용해 cell의 item을 정의하고 반환해주면 됩니다.
extension ViewController: UICollectionViewDelegateFlowLayout {
    func collectionView(_ collectionView: UICollectionView, layout collectionViewLayout: UICollectionViewLayout, sizeForItemAt indexPath: IndexPath) -> CGSize {
        return CGSize(width: (UIScreen.main.bounds.width / 2) - 20, height: 200)
    }
}
UICollectionViewDelegateFlowLayout에서 cell의 크기를 지정해줍니다.


UICollectionViewDelegateFlowLayout를 채택하고 사용을 해도 원하는 결과가 안나옵니다...
그 이유는 CollectionView의 Estimate Size가 auto로 되어있어 그런건데 None으로 바꿔주고 적용이 잘 됩니다.
이제 셀을 클릭했을 때 화면을 이동해보겠습니다. 먼저 이동할 화면을 간단히 구현하겠습니다.
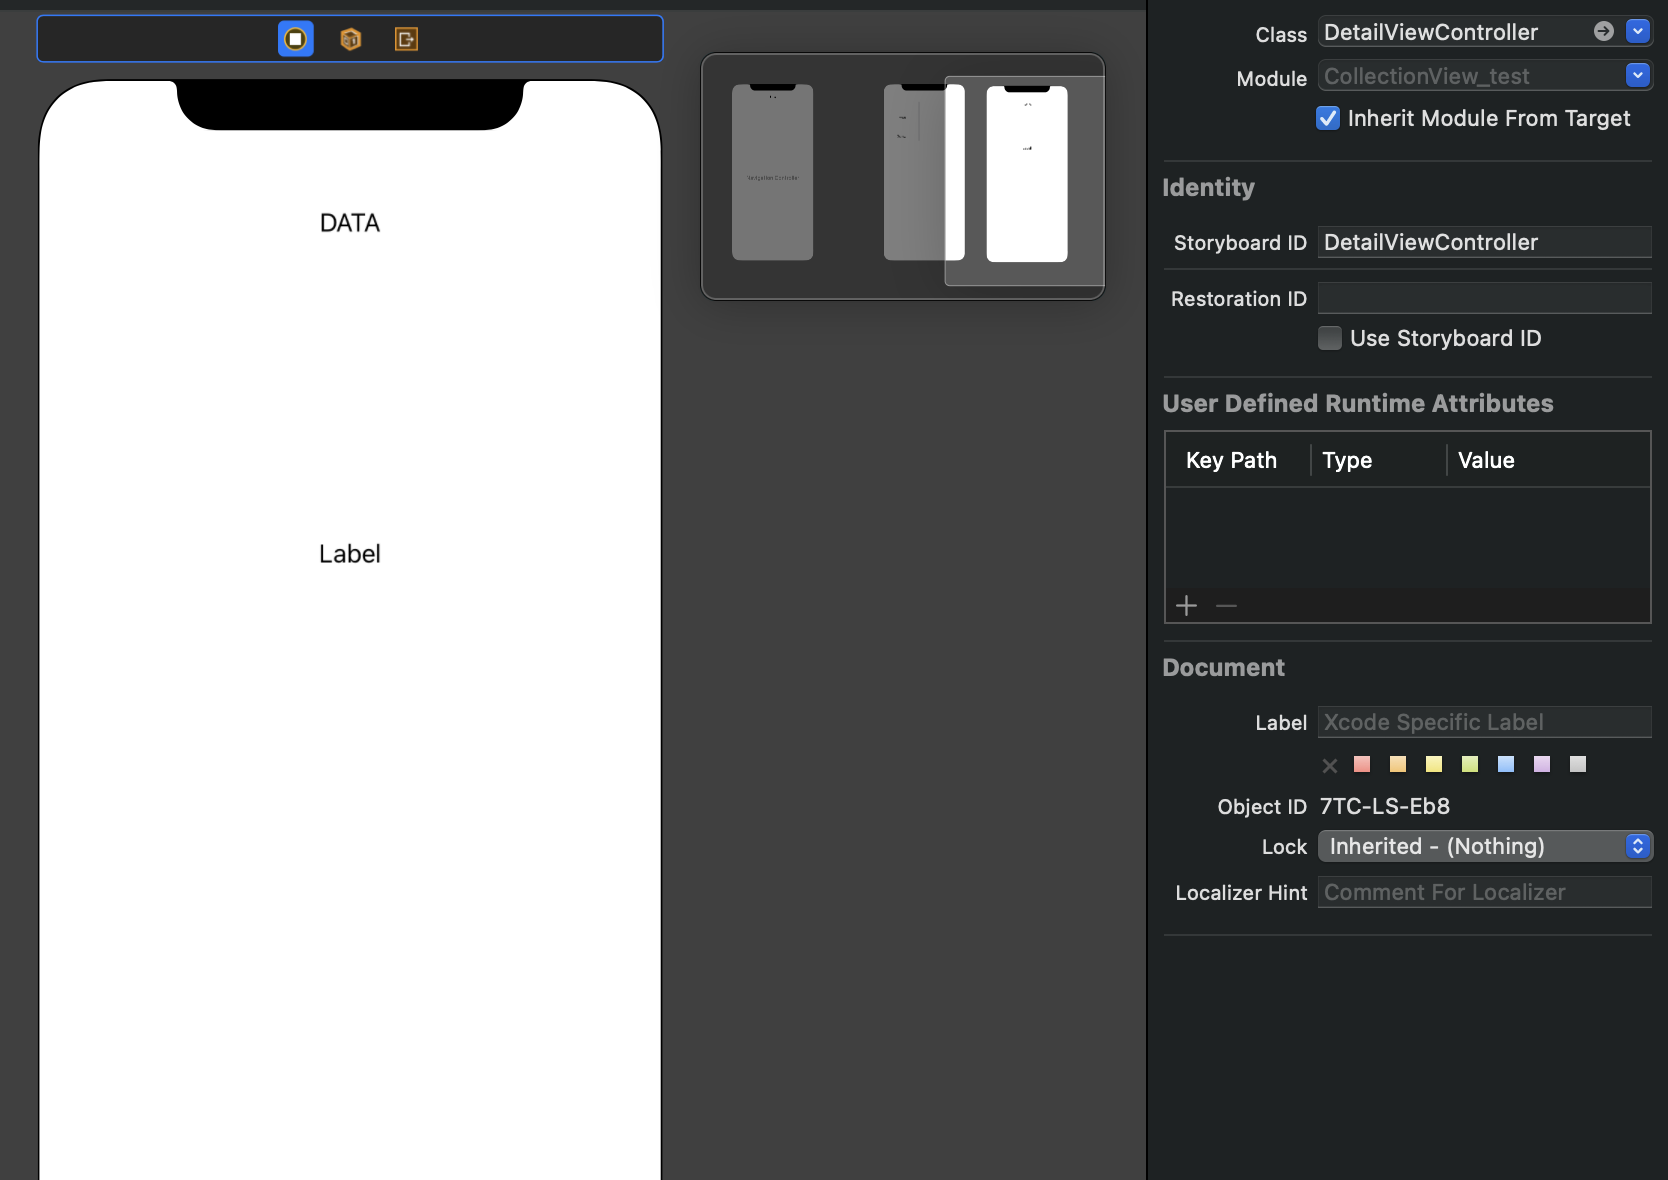
중간에 Label은 셀의 번호를 받아서 보여주는 역할을 할 것입니다.
화면 이동을 위해 식별자도 설정하고 준비를 해 보겠습ㄴㅣ다
class DetailViewController: UIViewController {
    @IBOutlet weak var dataLabel: UILabel!
    var data: String?
    override func viewDidLoad() {
        super.viewDidLoad()
        configureView()
    }

    private func configureView() {
        guard let data = data else {return}
        dataLabel.text = "hello \n\(data)!!"
        dataLabel.numberOfLines = 0
    }
}
data를 받아서 Label에 뿌리는 간단한 코드입니다. 바로 다음에 viewController에서 채택했던 UICollectionViewDelegate를 이용해 화면 이동을 구현하겠습니다.
extension ViewController: UICollectionViewDelegate {
    func collectionView(_ collectionView: UICollectionView, didSelectItemAt indexPath: IndexPath) {
        guard let vc = self.storyboard?.instantiateViewController(withIdentifier: "DetailViewController") as? DetailViewController else {return}

        vc.data = data[indexPath.row]
        self.navigationController?.pushViewController(vc, animated: true)
    }
}
didSelectItemAt 함수를 사용하면 어떤 셀이 선택되었는지 알 수 있습니다.
스토리보드에서 식별자로 이동할 vc를 가져와주고 데이터를 보낸 후 화면을 전환합니다.

데이터가 잘 넘어가는 모습을 볼 수 있습니다!